RJ's Leathercraft
How it's Made
On this page I am going to take you through a project from start to finish. The pictures will allow you to see what is involved in making many of my products. You will see when I cut the leather from the hides to the finishing touches when complete.
Thank You,
Richard E. Johnson
The Horizontal Cell Phone Case
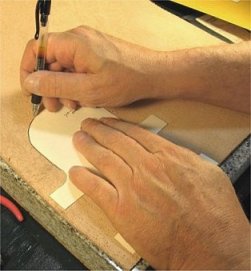
Our first step is to create a pattern using either heavy paper or cardboard. Once I know that all the shapes are correct for the item I am making I can then trace the pattern onto the leather hide. Leather hides usually run about 15 to 25 square feet. For the layman, that's one side of the cow.

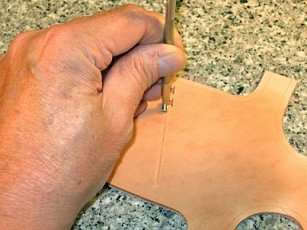
The next step is to cut out the pattern that was traced to the leather. There are a couple of different knives I like to use. In the picture is just one of many. For some thinner leathers I will use a special pair of scissors.

Once done I now have two cell phone cases cut out and ready to start the pattern design work. This side of the leather is called the flesh side. The opposite side is the grain or smooth side. The pattern is either stamped using some special tools and a mallet or carved depending what our design consist of.

Now that I have the pattern cut from the hide, it's time to select how and what design we are going to add to the case. If I was going to do a traditional basket weave design then all I need to do is start our stamp on a straight line and continue stamping until our design is complete. I use a Raw Hide mallet to strike the tool which puts the image on the tool into the leather. For this basket weave I will strike the tool between 200 and 400 time depending on the size of the cell phone case. How many times for a purse or a larger project? I quite counting on one purse I made.

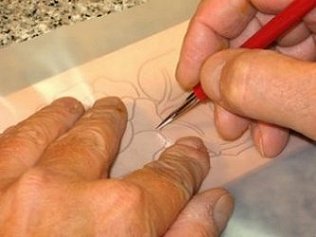
If I am going to design a western floral, celtic or some other design, my first step would be to use a pencil and put the design on a special paper that allows me to transfer the design to the leather product. The picture below shows me transferring the design to the leather product in this case it's a wallet. special designs can also be added to any leather item including the cell phone case.

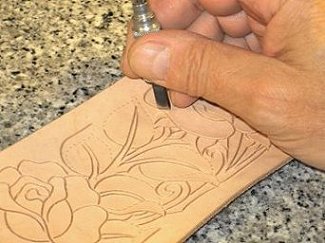
After transferring the design to the leather I now need to carve the leather using a swivel knife that allows me to do the tooling that will give the design some raised or 3-D effect. There are many tools used to finish this hand carved wallet.

Here is a product I made for a customer. It's a Passport wallet and a Notebook for a 5" X 8" pad. The tools shown in the picture is what was used to complete the project. Missing from the picture is the items used to apply the many finishes.

